
I’ve been wanting to make a flourless chocolate layer cake for a while now. I love flourless chocolate cakes but have never had one that came in layer form. I mean, what’s better than a layer cake? And who would eat a single layer of cake when you can instead have (at least) two layers? To make this a layer cake I doubled the below recipe (and used an 8-inch springform pan for both layers instead).
ingredients.
- 12 oz 60% cacao bittersweet chocolate baking bar, broken into 1-inch pieces
- 1/2 c. butter, plus additional for buttering the pan
- 8 large eggs, separated
- 1/2 c. granulated sugar (divided)
- 1 tsp. vanilla
- pinch of salt
- Dark Chocolate Glaze
directions.
- Preheat oven to 350 degrees. Butter bottom and side of a 9-inch springform pan. Line bottom of the pan with parchment paper. Butter the parchment.
- To make the torte, melt chocolate and butter in the top of a double boiler or in a heatproof bowl over barely simmering water, stirring occasionally until smooth. Remove from heat. In a separate bowl, combine egg yolks, 2 tablespoons of sugar, the vanilla and salt. Beat lightly until well combined. Add egg mixture to chocolate, one tablespoon at a time, whisking continuously.
- In a separate bowl, beat egg whites and remaining six tablespoons sugar with an electric mixture until soft peaks form. Transfer chocolate mixture to a large bowl, pour egg white mixture on top and carefully fold it in (do not overmix). Spread batter in prepared pan. Bake on lower shelf of preheated oven 30 to 35 minutes, or until cracked on top and a cake tester comes out clean when inserted in the center of the cake. Transfer to a wire rack to cool completely, about 1 hour. Cake will sink down as it cools. Once cooled, remove from pan.
- Make glaze. Place cake layer (still on rack) over baking sheet. When glaze has cooled, pour it over center of cake and let it run down the sides. Use a spatula to smooth the glaze and coat the sides. Transfer to refrigerator and allow glaze to set, about 10 minutes, before serving.
Don’t worry if you’re layers come out a bit uneven (and they will). You can, for the most part, cover up the unevenness when you frost the cake. Besides, as my sister pointed out, the lopsided look of the layers almost gave the cake an artsy feel.
In order to ‘frost’ (or glaze) this cake, I had to quadruple the recipe. I have this consistent problem when working with glazes: I’m impatient. I believe you’re supposed to let the glaze cool quite a bit so it’s not quite as runny when you’re working with it. I tend to wait about two minutes and then attempt to work with this runny mess.
This cake is just too much. And I never say that about dessert. Specifically not chocolate dessert! I am definitely not one of those people who ever exclaims, Ugh. This dessert is just too rich. I can’t finish it!
I normally sneer at those people (to myself – I’m not so rude as to sneer to their faces!) and take pity on them for the fact that their palates aren’t as fine tuned (and/or abused) as mine is. However, this dessert is just too rich. I couldn’t finish my piece. There’s no other way to describe it. If you’re looking for something that’s over the top, you’ve found your dish. One layer would have been plenty. Two? Over the top. Proceed with caution!
Recipe rating: 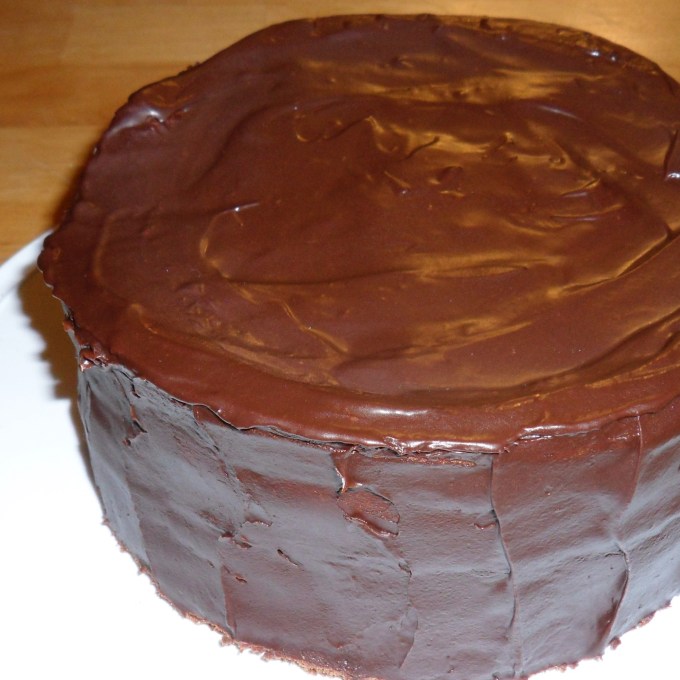


Do you make two cakes or cut in in half for the layers? If two cakes is this recipe for both or need to double?
Thanks, looks great.
LikeLike
Hi Erik—for this cake I made two full cakes (had to double the recipe). However, I think it would work equally as well, if not better, to divide the batter between two spring form pans (if you happen to have two). The layers would be more “reasonable” in size that way.
LikeLike