Over the years, Trader Joe’s has introduced me to some pretty amazing foods. Foods I wouldn’t normally have reached for, like blood oranges and interesting cheese choices. And some I never would have even thought of, like Everything But the Bagel Seasoning.
There are certain Trader Joe’s staples I keep going back to over the years, like their natural peanut butter and their almond butter. But my most favorite staple is the white bean hummus. It comes in at least two flavors, if I remember correctly but used to come in more. As soon as I tried it, I was addicted. It’s unbelievably smooth, creamy and utterly delicious. I like it so much that I never really reach for the traditional chickpea hummus.
This, of course, extends to my cooking because if you look at my hummus recipes they are all white bean. Until today. I saw an unbelievably smooth looking chickpea hummus on an Instagram account I follow a few weeks ago and ever since then I’ve been simply dying to try making chickpea hummus. The original hummus.
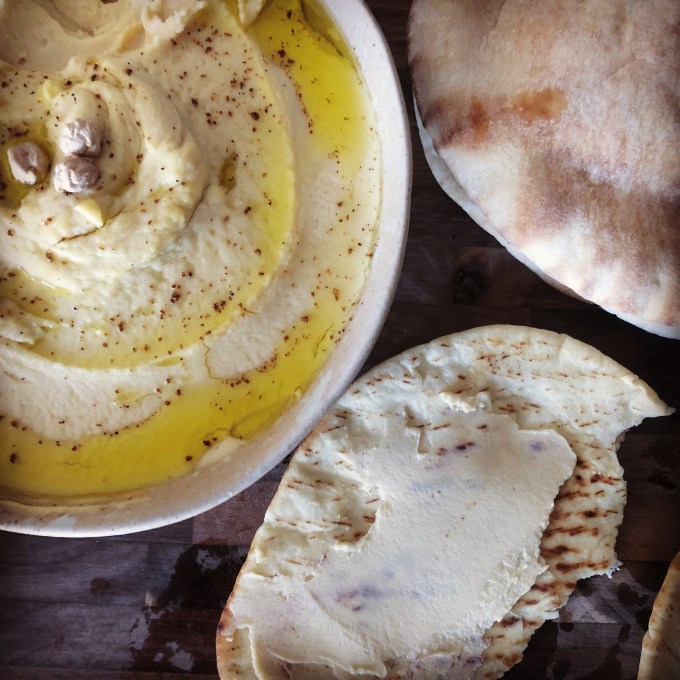
I have this memory of eating warm pita and hummus with my dad and Sis at Nicholas Restaurant in Portland. I kept scooping warm pita piece after piece into the hummus and then my mouth. I couldn’t get enough. I haven’t lived in Portland in almost five years now. That is literally the last time I remember eating traditional chickpea hummus!
Since I decided it was time to call a truce on chickpeas and start eating them again I decided it was high time to make my own hummus. There are a ton of hummus recipes floating around the internet, obviously. The popular choice seems to be to use canned chickpeas over dried chickpeas but I’m not really a canned bean gal. In most instances I’m a bean purist opting to soak my beans overnight and cook the heck out of them the next day.
So I found a recipe that promised to be the best hummus recipe you’ll ever find. I was hooked at best and read no further into the recipe. So I soaked my beans for 24 hours as recommended and then I cooked them with garlic and baking soda to help soften the outer shell. The recipe recommended cooking the beans between 40 minutes and 2 hours. I know this sounds like an odd amount of time but I understand the recommendation because it really depends on how long you soaked the beans and the temperature at which you’re cooking them. I’ve had to cook beans for almost 2 hours before.

However, I checked my beans when it was nearly 40 minutes of cooking times and I was disappointed to find the beans were completely mushy. This wouldn’t have been that big of a deal except in reading the next step in the recipe I was told to rinse the chickpeas until I no longer saw any bubbles (from the baking soda) and then to separate the skins from the chickpeas, which was nearly impossible in the mess of chickpea mush in my colander. I mean I tried as best as I could and probably 30 minutes later I gave up and put the rest of the mush into my Vitamix, bean skin and all. I lost a lot of bean during this process.
Then I read further about hummus (should have done my research prior) and found another recipe that said it didn’t matter if you remove the skins if using a Vitamix (which I have!) because the Vitamix will pulverize those little bean skins completely. Such a handy tip!
Ultimately, the recipe I found that worked the best is none other than Suzy’s from the Mediterranean Dish. If you have never been to her website you must go hitherto. I follow her on IG and her posts are 100% drool-worthy. Her posting on hummus was my inspiration to diverge from white bean hummus.
And here is what I tell you, taking into consideration that white bean hummus has my heart… This hummus recipe is hands down the bestest most creamiest, dreamiest, fluffiest, delicious hummus you’ll ever find. It is a total pain in the ass to make but worth all the effort. This I promise!

ingredients.
- 1 ¼ c. dried, good quality, chickpeas
- ½ tsp. baking soda
- 2 garlic cloves, minced or 1 tsp minced garlic (found in a jar)
- 4 ice cubes
- ⅓ c. tahini
- 2 T. extra virgin olive oil
- ½ tsp. kosher salt
- Juice of 1 lemon
- seasoning, for garnish (sumac or smoked paprika)
- a handful of cooked chickpeas, for garnish
- Extra Virgin Olive Oil, for serving
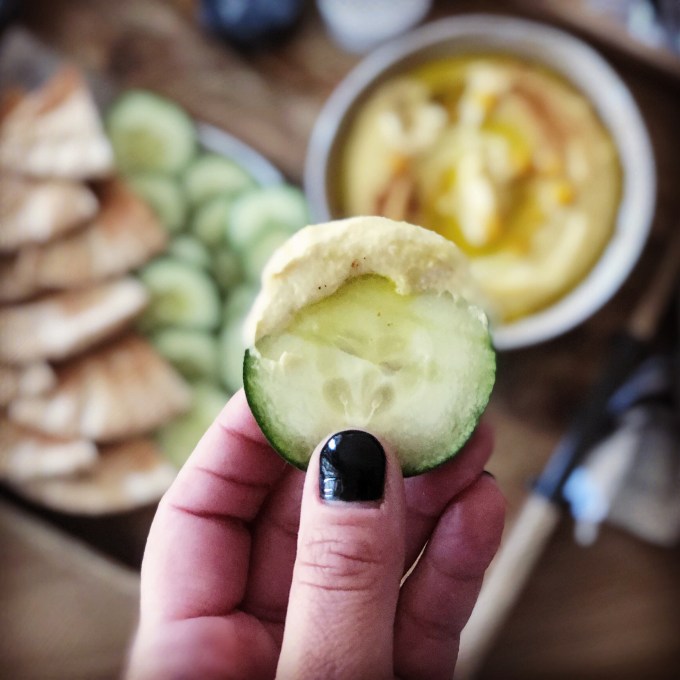
- Warm Pita, pita chips, or crunchy vegetables, for serving
directions.
- Soak chickpeas in plenty of fresh water for 12 to 24 hours. I have always soaked closer to 24 hours.
- When ready to cook chickpeas, rinse and drain and then add to a pot. Add enough water to rise 1 to 2 inches above the chickpeas. Add baking soda. Turn heat to high and cook for 25 to 30 minutes.** The chickpeas should be tender, not mushy.
- Rinse the chickpeas under water and remove the skins.*** You can do this by pinching the skins off the chickpea or by loosely rubbing them between your hands. This will take a long time and is the most annoying part of this recipe. Reserve a handful for garnish.
- Add chickpeas and minced garlic to the bowl of a food processor. Puree until a smooth mixture forms.
- Keep the processor is running and add ice cubes, tahini, olive oil, salt, and lemon juice. Blend for about 4 or 5 minutes. If the consistency is too thick, run processor and slowly add a little hot water. Repeat if necessary until you reach a silky smooth consistency. (I didn’t have to add any water.)
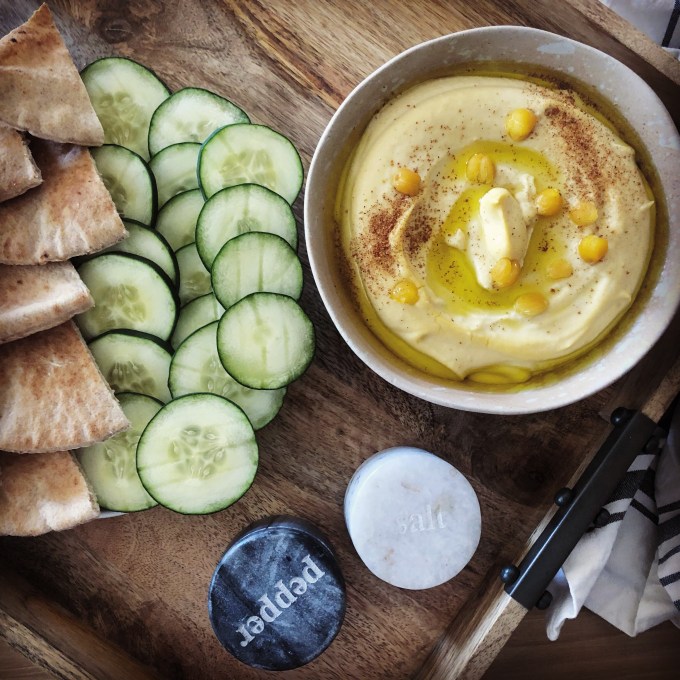
- With a rubber spatula, transfer the hummus to a serving bowl. Add a generous drizzle of olive oil and a few chickpeas to the middle. Sprinkle seasoning on top. Enjoy with warm pita, pita chips and/or your favorite crunchy veggies.
**I’ve read recipes that suggest cooking the beans anywhere from 40 minutes to 2 hours. Perhaps because I soak my beans for nearly 24 hours, my beans cook crazy quick. The first time I made this I cooked for 40 minutes and the beans came out crazy mushy. It was impossible for me to remove all the skins. The second time, I cooked them about 25 or so minutes and the beans were perfect. I was easily able to remove all skins and the beans remained structurally sound.
***If you don’t feel like removing the skins or your beans come out too mushy, throw everything into a high-speed blender, like a Vitamix. In my opinion the texture is not as good when you don’t remove the skins so please make every effort to do so at least once so you can see how heavenly the texture of the dip can turn out.
Recipe rating: