This endeavor was a lesson in both Tamales and smugness.
Back in January BF decided that he wanted to teach me the art of Tamale-making. He’d just come home from a visit to his mother’s house where together they had made dozens and dozens of Tamales. So one Friday night he called his mom for the recipe and we ran around town gathering the ingredients for Tamales. His mom cautioned us that it is a painstakingly long process and estimated it would take us until midnight to finish making them. I have to admit, I was not excited by the prospect of spending five hours in the kitchen. In the end, we managed to whip through the tamale making process in a scant two hours taking some necessary short-cuts. When we had all the Tamales wrapped in corn husks, it was time to steam them on the stove. The first bite we took into our homemade Tamales was magical. We couldn’t stop congratulating ourselves over how good they tasted. After the fruits of our labor had ended, we had produced 54 Tamales. We divided them up into Ziploc bags and froze them. Months later when BF’s mom was in town, he made some for her. She agreed that the Tamales were amazing — especially as made by us … Tamale-making virgins.
And so goes the story of the first-run at the homemade Tamales. I guess we got a little cocky over the magical Tamales we created last time; because this time we opted not to make them under BF’s mother’s guise. We just winged it from our faded memory of months past. Big mistake!
Traditionally when making homemade Tamales, part of the lengthy process is making homemade masa (Tamale dough) made of ground dried corn meal and lime. It’s easier to buy freshly prepared masa at the Mexican grocery store. While I searched for green chiles, BF searched for the masa and was unable to find any fresh stuff. (We only assumed the three bags of masa we bought were not fresh because they were not warm, as was the masa we bought last time.)
If you can’t find prepared masa, you can buy masa flour and mix it with a few ingredients to get the prepared dough.

masa ingredients.
- 6 c. masa flour
- 2 c. lard or shortening
- 1 T. baking powder
- 1 T. garlic salt
- 4 c. chicken broth or water
filling ingredients.
- 15 to 16 oz. canned green chiles
- 4 garlic cloves, minced
- 2 lbs rotisserie chicken pulled or chopped
- 4 to 8 oz monterey jack cheese
- 15 to 16 oz oz corn kernels
directions.
There are two basic parts to making Tamales (both equally as lengthy): preparation and assembly.
- If you don’t want to buy rotiesserie chicken and you have some chicken in your fridge or freezer you can boil the chicken in water with garlic and onions and then shred it.
- After you’ve shredded or chopped the chicken, add frozen corn and chopped green chiles. We like to use both white and yellow corn. This time we used a mixture of mild and hot chiles.
- After preparing the chicken mixture, soak the corn husks to clean them (if necessary) and then dry them off with paper towel. BF and I spread a large beach towel across his kitchen island cutter block and then spread the husks across it layering paper towel in between the layers of corn husk to dry.
- Before you can assemble the tamales you need to prepare the masa. When buying masa there are two kinds of masa that you can buy. You want the masa preperada (prepared masa). If you don’t get prepared masa you have to prepare it on your own by adding lard and other ingredients.
- To prepare the masa, dump it in a large bowl and add enough chicken broth so that the masa doesn’t stick to your hands when you’re working with it. One of the things we neglected to do this time around was add garlic salt to the masa during preparation. This is a VERY important step. The Tamales will not be as flavorful without the garlic salt.
- Now it’s time to start assembling. When choosing a corn husk, you need a corn husk that’s wide enough to be able to spread a sizable amount of masa on. Some corn husks are naturally more narrow. If you cannot find a corn husk that’s wide enough, you need to put two corn husks together. We have found that it’s easiest to use your hands when spreading the masa on the corn husk. Last time we tried using the back of the spoon and had lots of problems. You want the masa to be spread wide enough so that when you roll the corn husk the ends of the masa meet in the middle. There also needs to be enough space at the top of the corn husk because after rolling it, you fold the flap over.
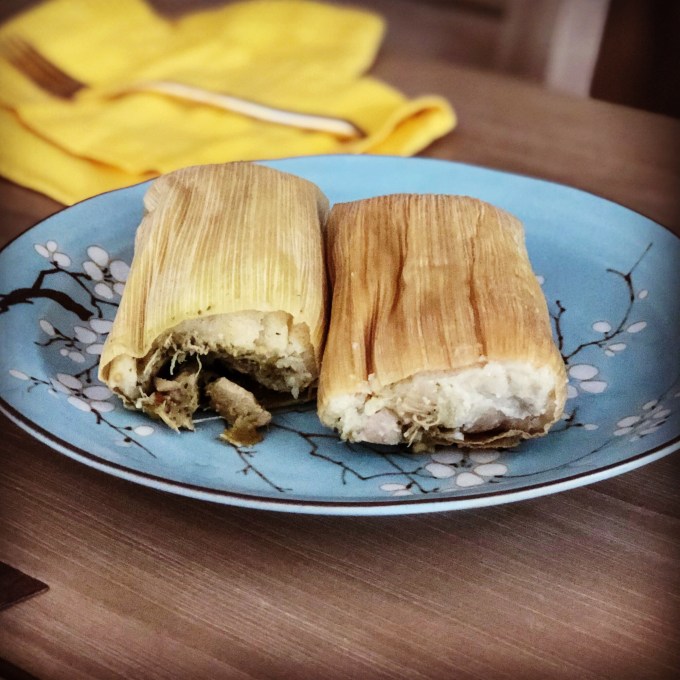
After all the assembling and rolling of the ingredients, we produced 4 dozen tamales.
Then came the fun part: eating the Tamales. Steam them in a pot for 25 minutes and they’re ready to eat.
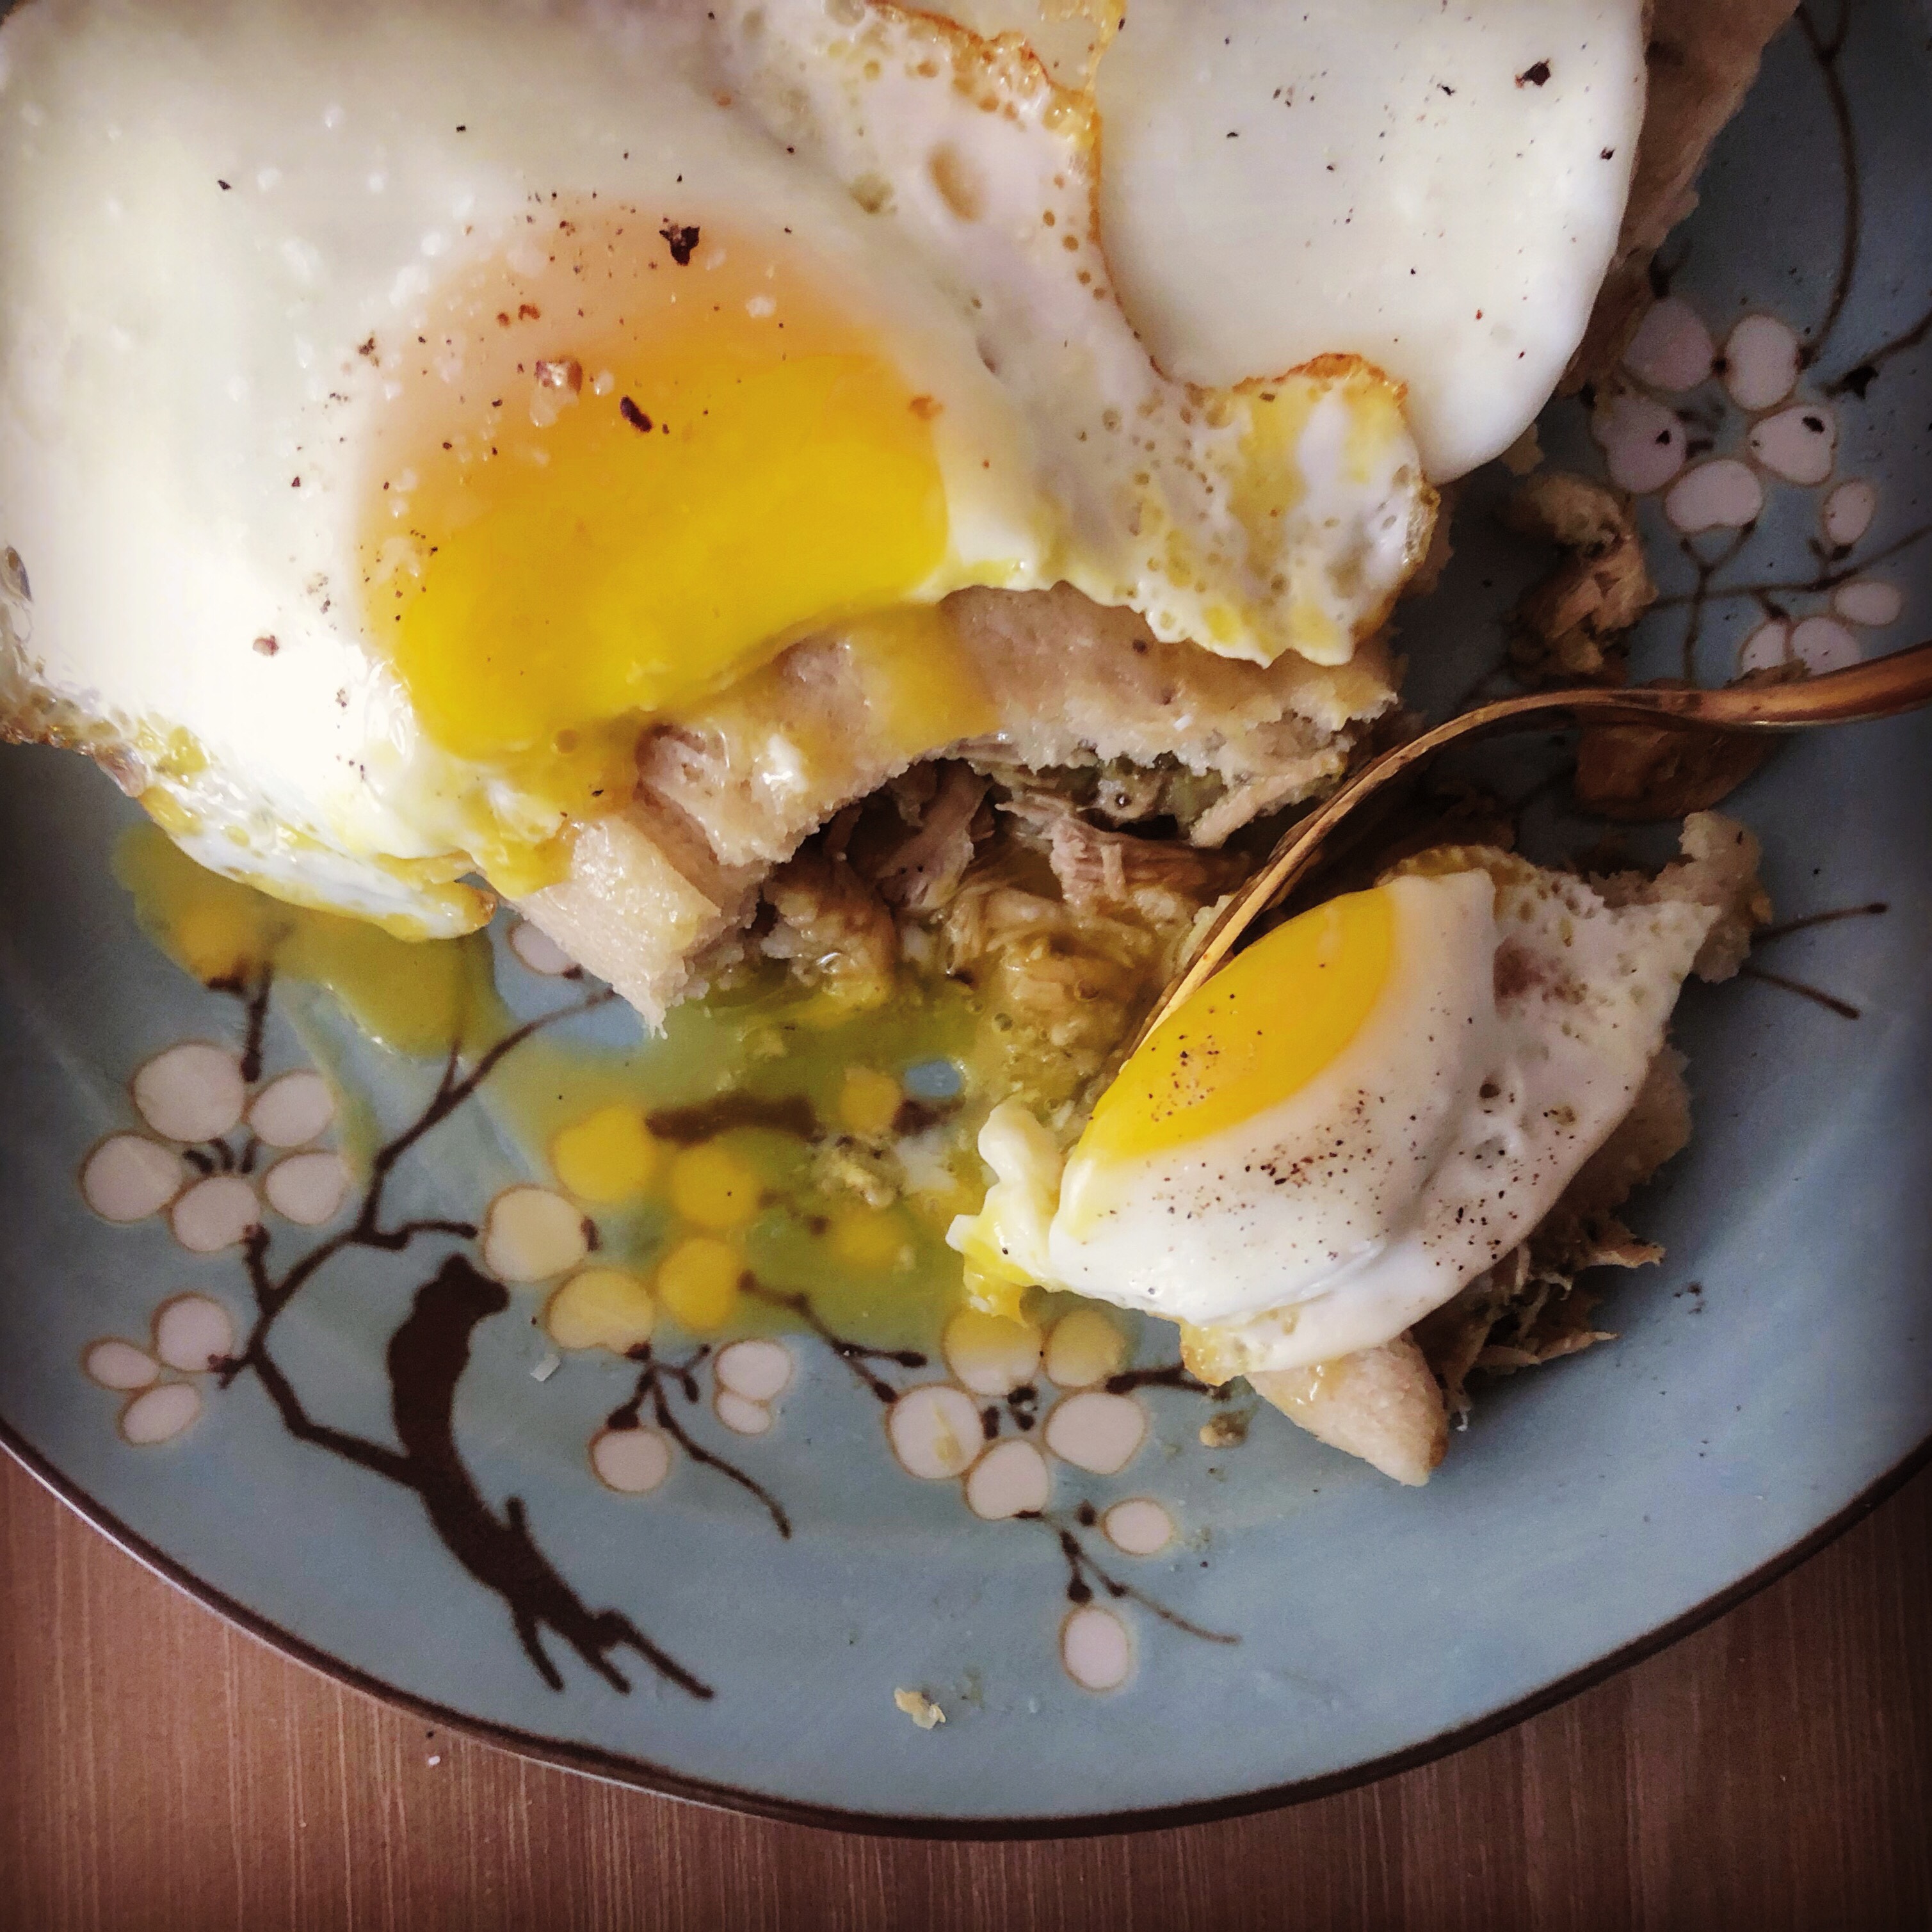
Or, do like we do and top the tamale with a fried egg. Sounds weird, right? It’s not. It’s delicious.

We think we have identified the problems we encountered in this batch of Tamale-making to make these Tamales less than flavorful compared to the last batch we made:
- Buying the wrong kind of masa
- Then forgetting to add garlic salt to the masa (wouldn’t have mattered much anyway since we bought the wrong kind)
- Using dark meat chicken
- Grilling the white meat instead of boiling it
- Using too much corn
Needless to say, when we bit into the Tamales we were less than smug. We were in fact, puzzled by the near bland taste of our creations. In the end, we learned our lesson through trial and error.
Recipe Rating: (when made correctly, of course!)


I don’t care if they were bland–they look delicious! Can you send some to Wisconsin? 🙂
LikeLike
I think I probably could! We don’t really need 4 dozen, LOL. You and Nate should seriously try making them some time! A labor of love that’s worth it!
LikeLike