
I was inspired to make donuts after I saw Allison’s post at Main St. Cuisine a few weekends ago. (If you’ve never visited the Main St. Cuisine blog, you should. Allison’s food pictures always makes me drool.) Shortly after reading Allison’s post I ended up buying a donut-cutter from Sur La Table. I found an easy-looking recipe at The Pioneer Woman’s website.
I attempted to make donuts Meyer lemon-flavored; however, I will omit that part from the recipe below because I really couldn’t taste the lemon at all in the actual donut itself. I did make a very good lemon glaze that would have satisfied any lemon lover.

ingredients.
- 1 1/8 c. whole milk, warmed to approximately 110 degrees
- 1/4 cup sugar
- 2-1/4 tsp. active dry yeast
- 2 whole large eggs, Beaten
- 1 1/4 stick butter, melted
- 4 c. flour
- 1/4 tsp. salt
- vegetable or canola oil
- 3 c. powdered sugar
- 1/2 tsp. salt
- zest of two or three Meyer lemons
- 1/2 c. fresh Meyer lemon juice
directions.
- You want to make the dough the night before you’re frying. In a small bowl, add sugar to milk and stir to dissolve. Add the yeast into the bowl. Stir gently, then let proof for about 10 minutes.
- Melt butter in separate bowl until butter is almost melted. Stir to finish melting so the butter isn’t overly hot as you need to add this to the eggs and you don’t want to cook the eggs with hot butter. Add beaten eggs to melted butter, stirring constantly. Add the egg/butter mixture to the bowl of an electric mixer fitted with the dough hook.
- With the mixer on medium-low speed, pour in the yeast mixture. Allow the dough hook to stir this mixture for a couple of minutes until thoroughly combined.
- With the mixer still going, add the flour mixture in 1/4 to 1/2 cup increments until all the flour is gone. Knead the dough at medium speed for about 5 or 6 minutes. Turn off the mixer and allow the dough to sit in the bowl undisturbed for 10 minutes. After 10 minutes, transfer dough to a lightly oiled bowl. Toss the dough in the bowl to coat, then cover the bowl with plastic wrap and place in the fridge. Refrigerate dough for at least 8 hours, or overnight.

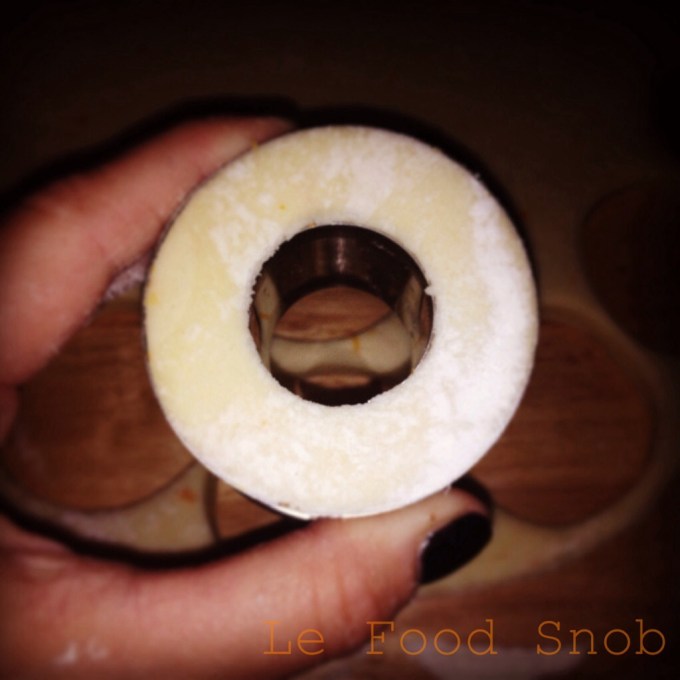
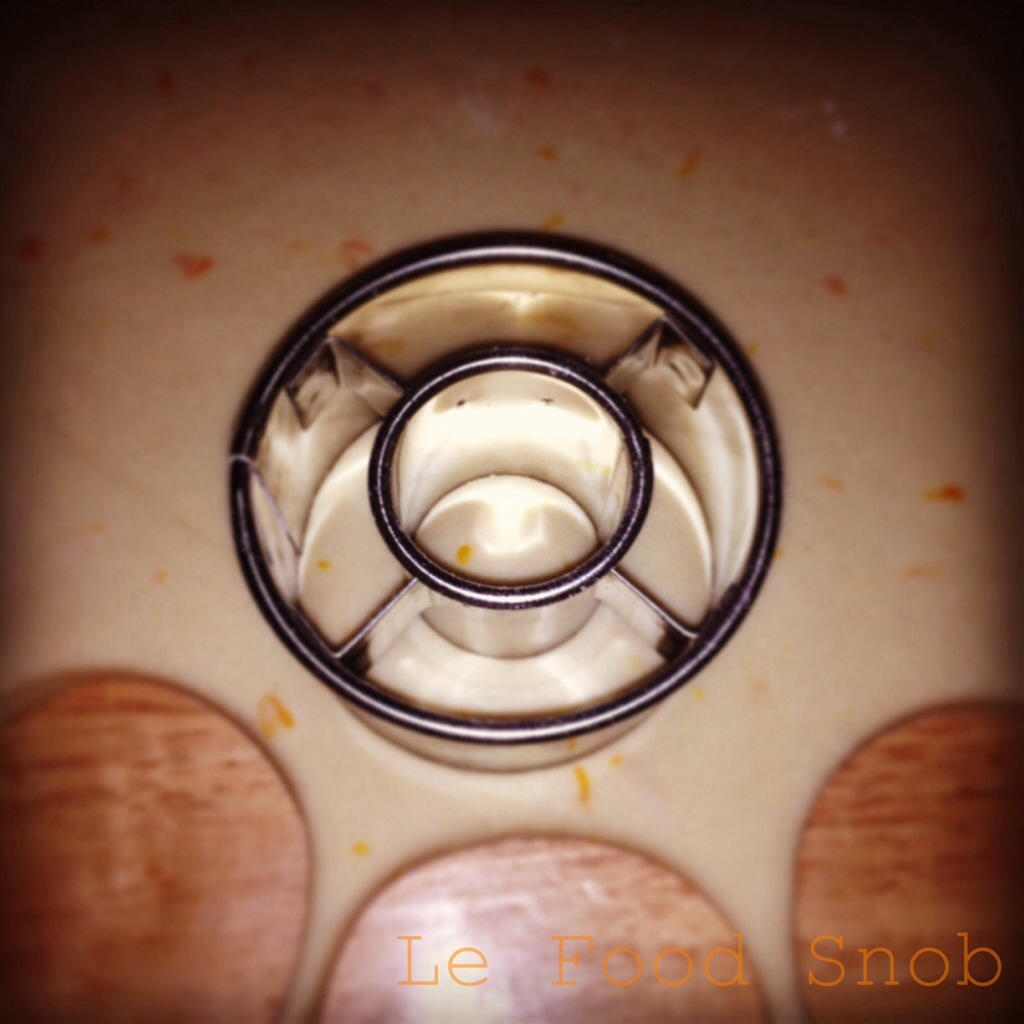
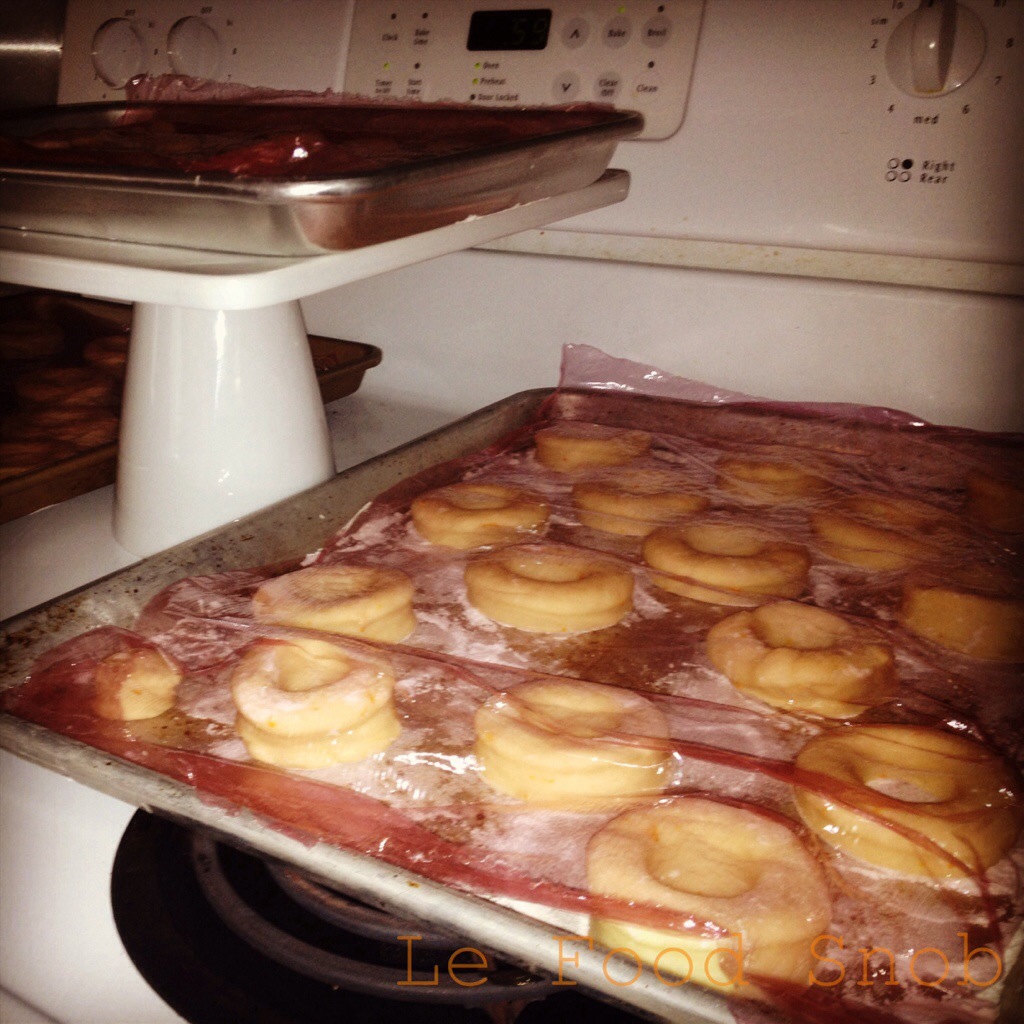
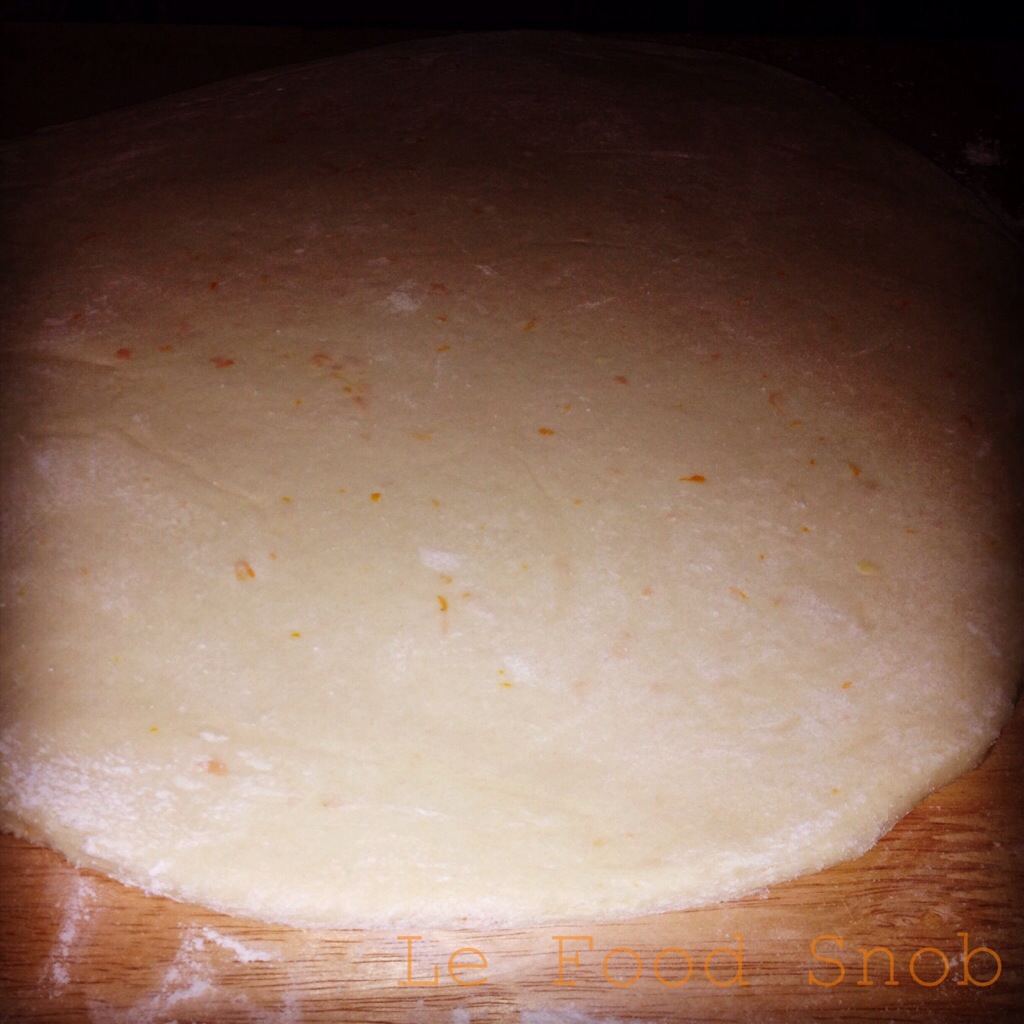
- When ready to fry the donuts, remove bowl from fridge and turn out dough onto a lightly floured surface. Roll out to 1/4 to 1/3-inch thickness.Using a donut cutter (or 3-inch cutter, cut as many rounds as you can then cut holes out of each round using a 1 1/2-inch cutter). Repeat with remaining dough until all dough is gone. Place both donuts and holes on a floured baking sheet. (It’s very important the sheet is floured or the donuts will stick.) Cover loosely with Saran wrap and place in a warm spot in your kitchen to rise.

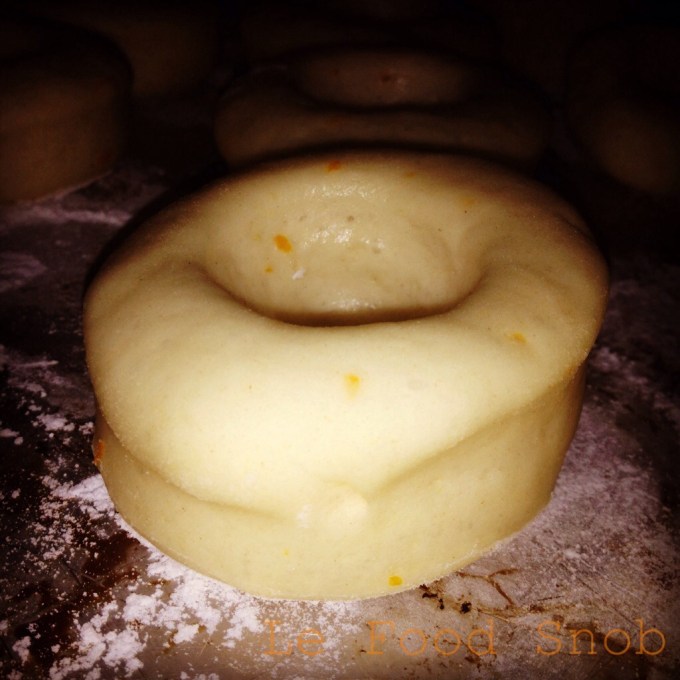
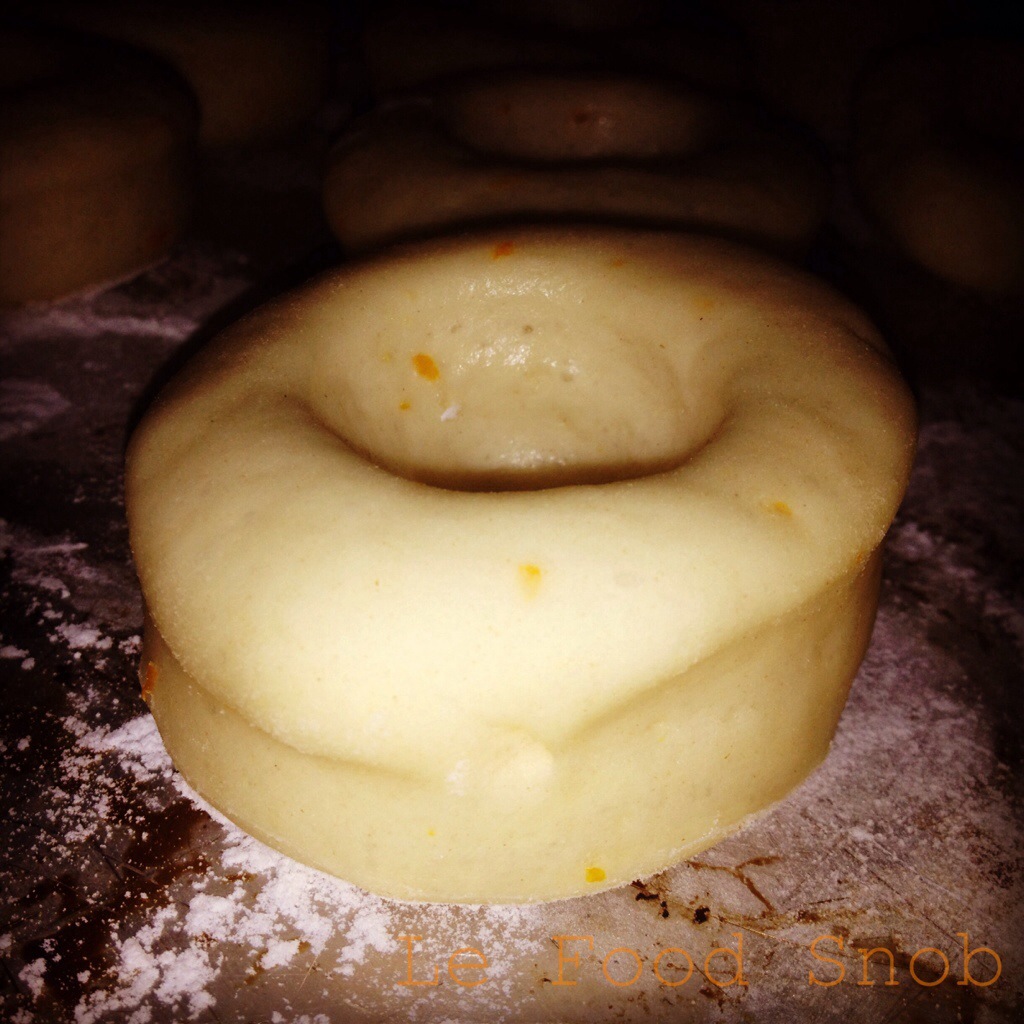
- Allow donuts to rise undisturbed for at least 1 hour. Donuts should be visibly puffier and appear airy as if you would deflate them if you moved them suddenly (because you will if you do).
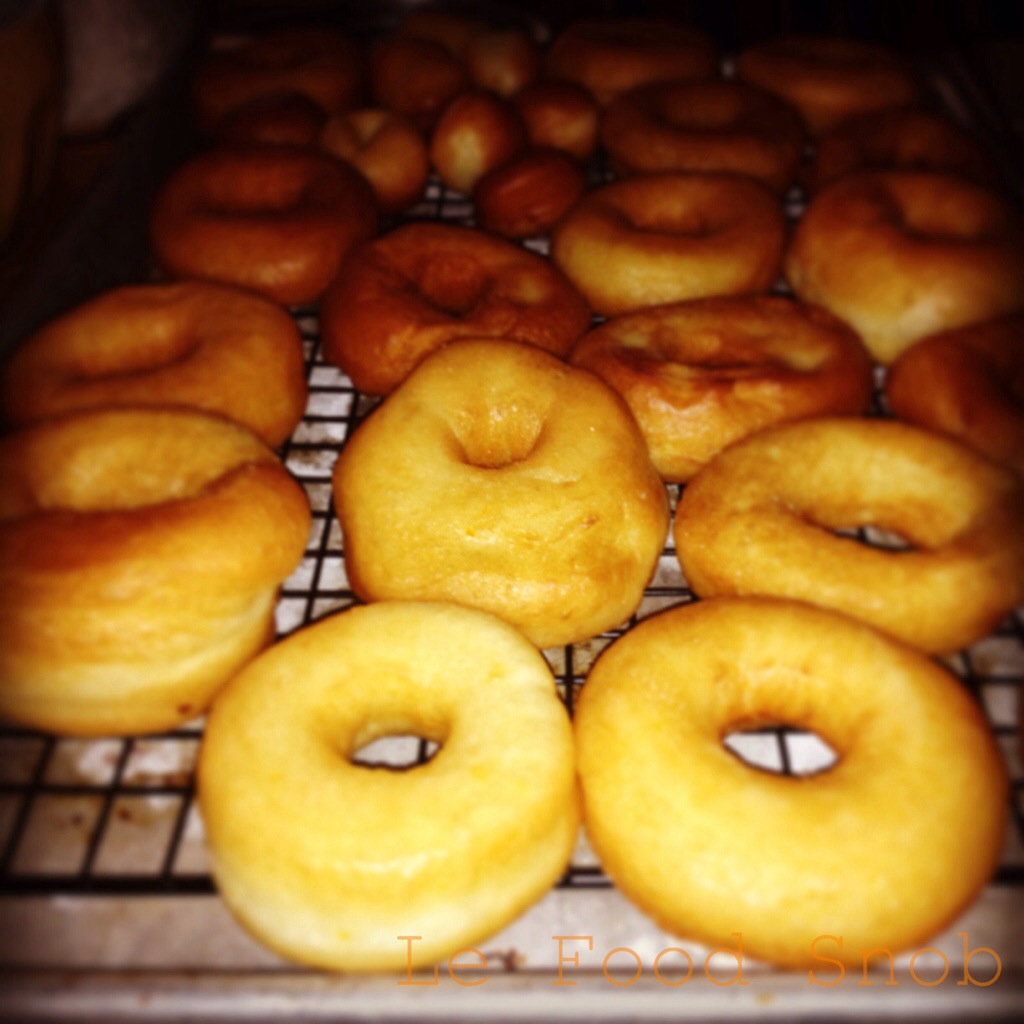
- Heat vegetable oil or peanut oil in a large pot until the temperature reaches 375 degrees on a candy/fry thermometer. Leave the thermometer in your pot so you can monitor the temperature. One or two at a time, gently grab the donuts and place them into the hot oil. Allow them to cook 1 minute on each side. Remove doughnuts from the oil with a slotted spoon, allowing oil to drip off. Let dry on a wire rack.
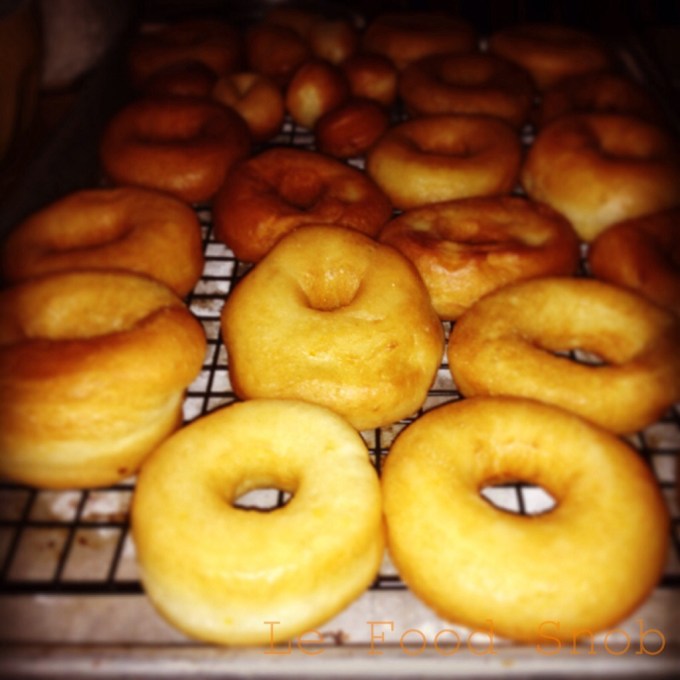
- Repeat with remaining donuts and holes, cooking the holes about 30 seconds per side. Allow donuts to slightly cool.
- Mix all glaze ingredients in a bowl until completely smooth. One by one, dip donuts into the glaze until halfway submerged. Remove from glaze, then turn right side up on a cooling rack placed over a cookie sheet allow to cool slightly then dip into the glaze again. Allow to cool slightly again. Serve warm if possible, or room temperature.


I have memories of frying donuts with my great Auntie Red and great Uncle Nick when I was very young. Let me make this clear: this should be a group project. Taking on this project by yourself is a huge undertaking and will likely take you most of your morning. (It did for me.)
I had a helluva time keeping my oil temperature at 375 degrees. I kept having to remove the pot from the heat source until it cooled down ab bit and then it took forever to get back up to 375 degrees. At work the next week my boss told me that she believes if you have the oil at too low of a temperature the oil tends to soak into the donuts instead of frying them, which makes complete sense in retrospect. Making these donuts was a labor of love and was well worth it. Another word of warning: they don’t last too long. You want to eat them within 24 hours or they get a bit suspect. So have plenty of taste-testers on hand when you make these. this recipe made about 30 to 36 donuts and a bunch of holes.
And finally, don’t let them raise too much. They will puff up when you fry them. I let my donuts raise a lot because they looked kind of wimpy after only an hour. Most of my donuts looked like they were on steroids compared to donuts you’d find at a shop or grocery store.

Recipe rating:


looks amazingg 🙂
LikeLike