When I was growing up, gravy of any kind was made on the stove within the roasting pan. My mom or either of my grandmas would place the roasting pan across two burners and mix the ingredients together in the pan. I had no idea what they did to get gravy to whatever was in the pan other than add some flour.
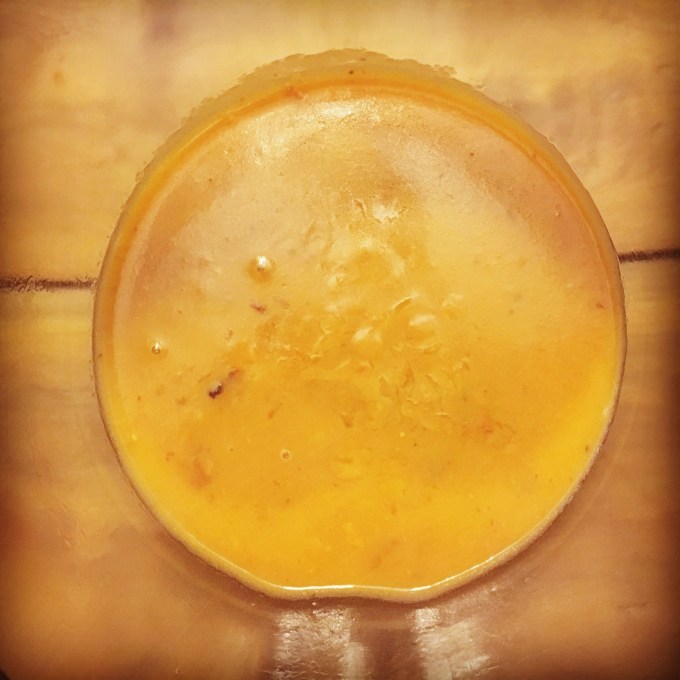
I hadn’t really considered a gravy recipe until the turkey was nearly out of the oven. Luckily I found an easy recipe at thekitchn.com. I didn’t think it was going to work at first because my roux didn’t turn into a thick, gloppy mixture. It was very runny. As I was preparing to add some cornstarch (mixed with water) to thicken the gravy, a funny thing happened. The very thin sauce began to thicken slightly. Then more slightly. And eventually the sauce thickened into the most perfect gravy consistency I had ever seen.
I didn’t add any salt, pepper or herbs to this gravy. It was perfect as is.
ingredients.
- ¼ c. turkey fat
- ¼ c. all-purpose flour
- 1 c. pan drippings
- 1 to 2 c. broth or water
- Salt and pepper
- Optional extras: splash of sherry, splash of wine, teaspoon of minced herbs like rosemary, thyme, or sage
directions.
- After you’ve removed the turkey from the oven and set it aside to rest, set the pan over medium-high heat on the stove-top. You may need to span two burners. When the pan drippings are hot and sputtering, pour in a cup of broth and begin scraping all the bits from the bottom of the pan.
- Pour the contents of the deglazed pan drippings into a measuring cup and place this in the refrigerator or freezer, wherever there is space. (Note: For a very smooth gravy, strain the pan drippings before adding them to the gravy.) In the 30 minutes it takes to rest the turkey, the fat and drippings will separate and the fat will begin to harden. This makes it easier to skim off just the fat for making the gravy.
- You want about a cup of pan drippings and 1/4 cup of fat. If you have less drippings, you can make up the difference with broth. If you have less fat, you can make up the difference with oil. If you have more fat, discard a little of the fat until you have 1/4 cup. If you have more drippings, use less broth in the next step. If you have a lot more of either, you can double the recipe.
- Skim the fat from the top of the pan drippings (or use a fat separator) and warm it in a saucepan over medium-high heat. When the fat is hot, whisk in the flour to form a thin paste. Let this cook for a few minutes until bubbly.
- Pour in the pan drippings and whisk to combine with the roux. This will form a thick, gloppy paste. (Note, this never happened for me. When I poured in the drippings, I had a very thin sauce.)
- Finish the gravy by whisking in a half cup of broth. You can add more broth for a thinner gravy or let the gravy cook a few minutes for a thicker gravy. (Note, I didn’t add any additional broth because my roux was so thin. It did thicken up as I let it cook over medium-high heat but it only thickened up some. It thickened up enough to be the consistency of gravy. It was perfect, actually!) Taste the gravy and add salt, pepper, and any extras to taste.
- Gravy can be kept refrigerated for up to a week or frozen for up to three months. Reheat gently over low heat while whisking occasionally to prevent the sauce from breaking.


