Ever since I had breakfast at a restaurant in Portland, Ore., (years ago!) famous for their homemade English muffins, I have been wanting to make my own homemade English muffins. At some point I purchased an English muffin “cutter” set which is basically like a large biscuit cutter. (Not sure why you need four English muffin cutters. I generally use one biscuit cutter when making biscuits and feel that it would stand to reason that one English muffin cutter would work just fine. I had a hard time finding my English muffin cutter set when I was ready to start cooking the muffins this morning.
My house is disorganized right now. In both bedrooms I have kitchen utensils, pots and pans and small appliances strewn everywhere. I also have kitchen utensils, pots and pans and small appliances in my kitchen and spilling out into the surrounding areas. I have literally have enough kitchen items to be able to move to Seattle, keep my place in California in tact and not really have to buy too much for my Seattle home.
I have two Kitchenaid mixers, two blenders, two food processors, at least two sets of pots and pans (I have three of the same set of pans), multiple casserole dishes, bread pans, pie pans, pizza cutters, ice cream scoopers, etc. In a nutshell, I am a maximalist.
Since I realized I can eat sourdough products with no ill-effects to my health, I’ve been doing it up by trying new recipes and recreating my favorites (like Fermented Sourdough Bread). This helps me reclaim my life a little bit as you can make almost any bread-like product into a sourdough version of it.
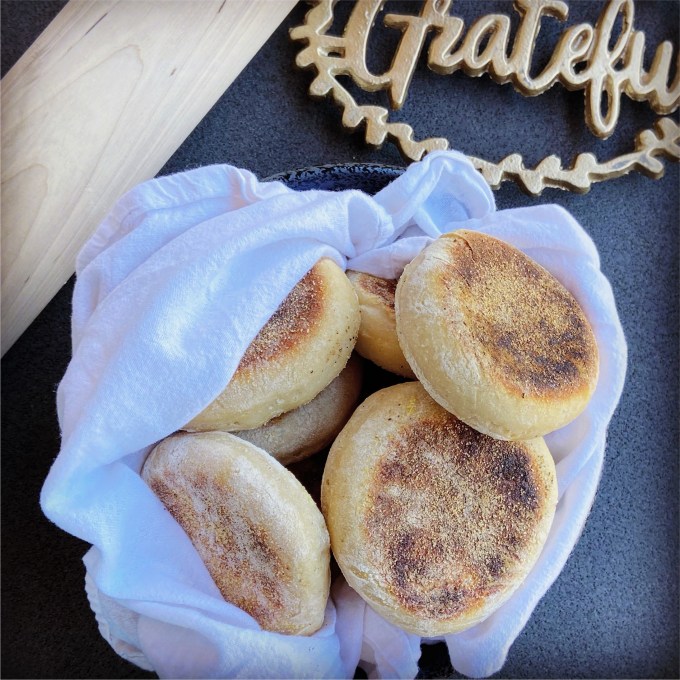
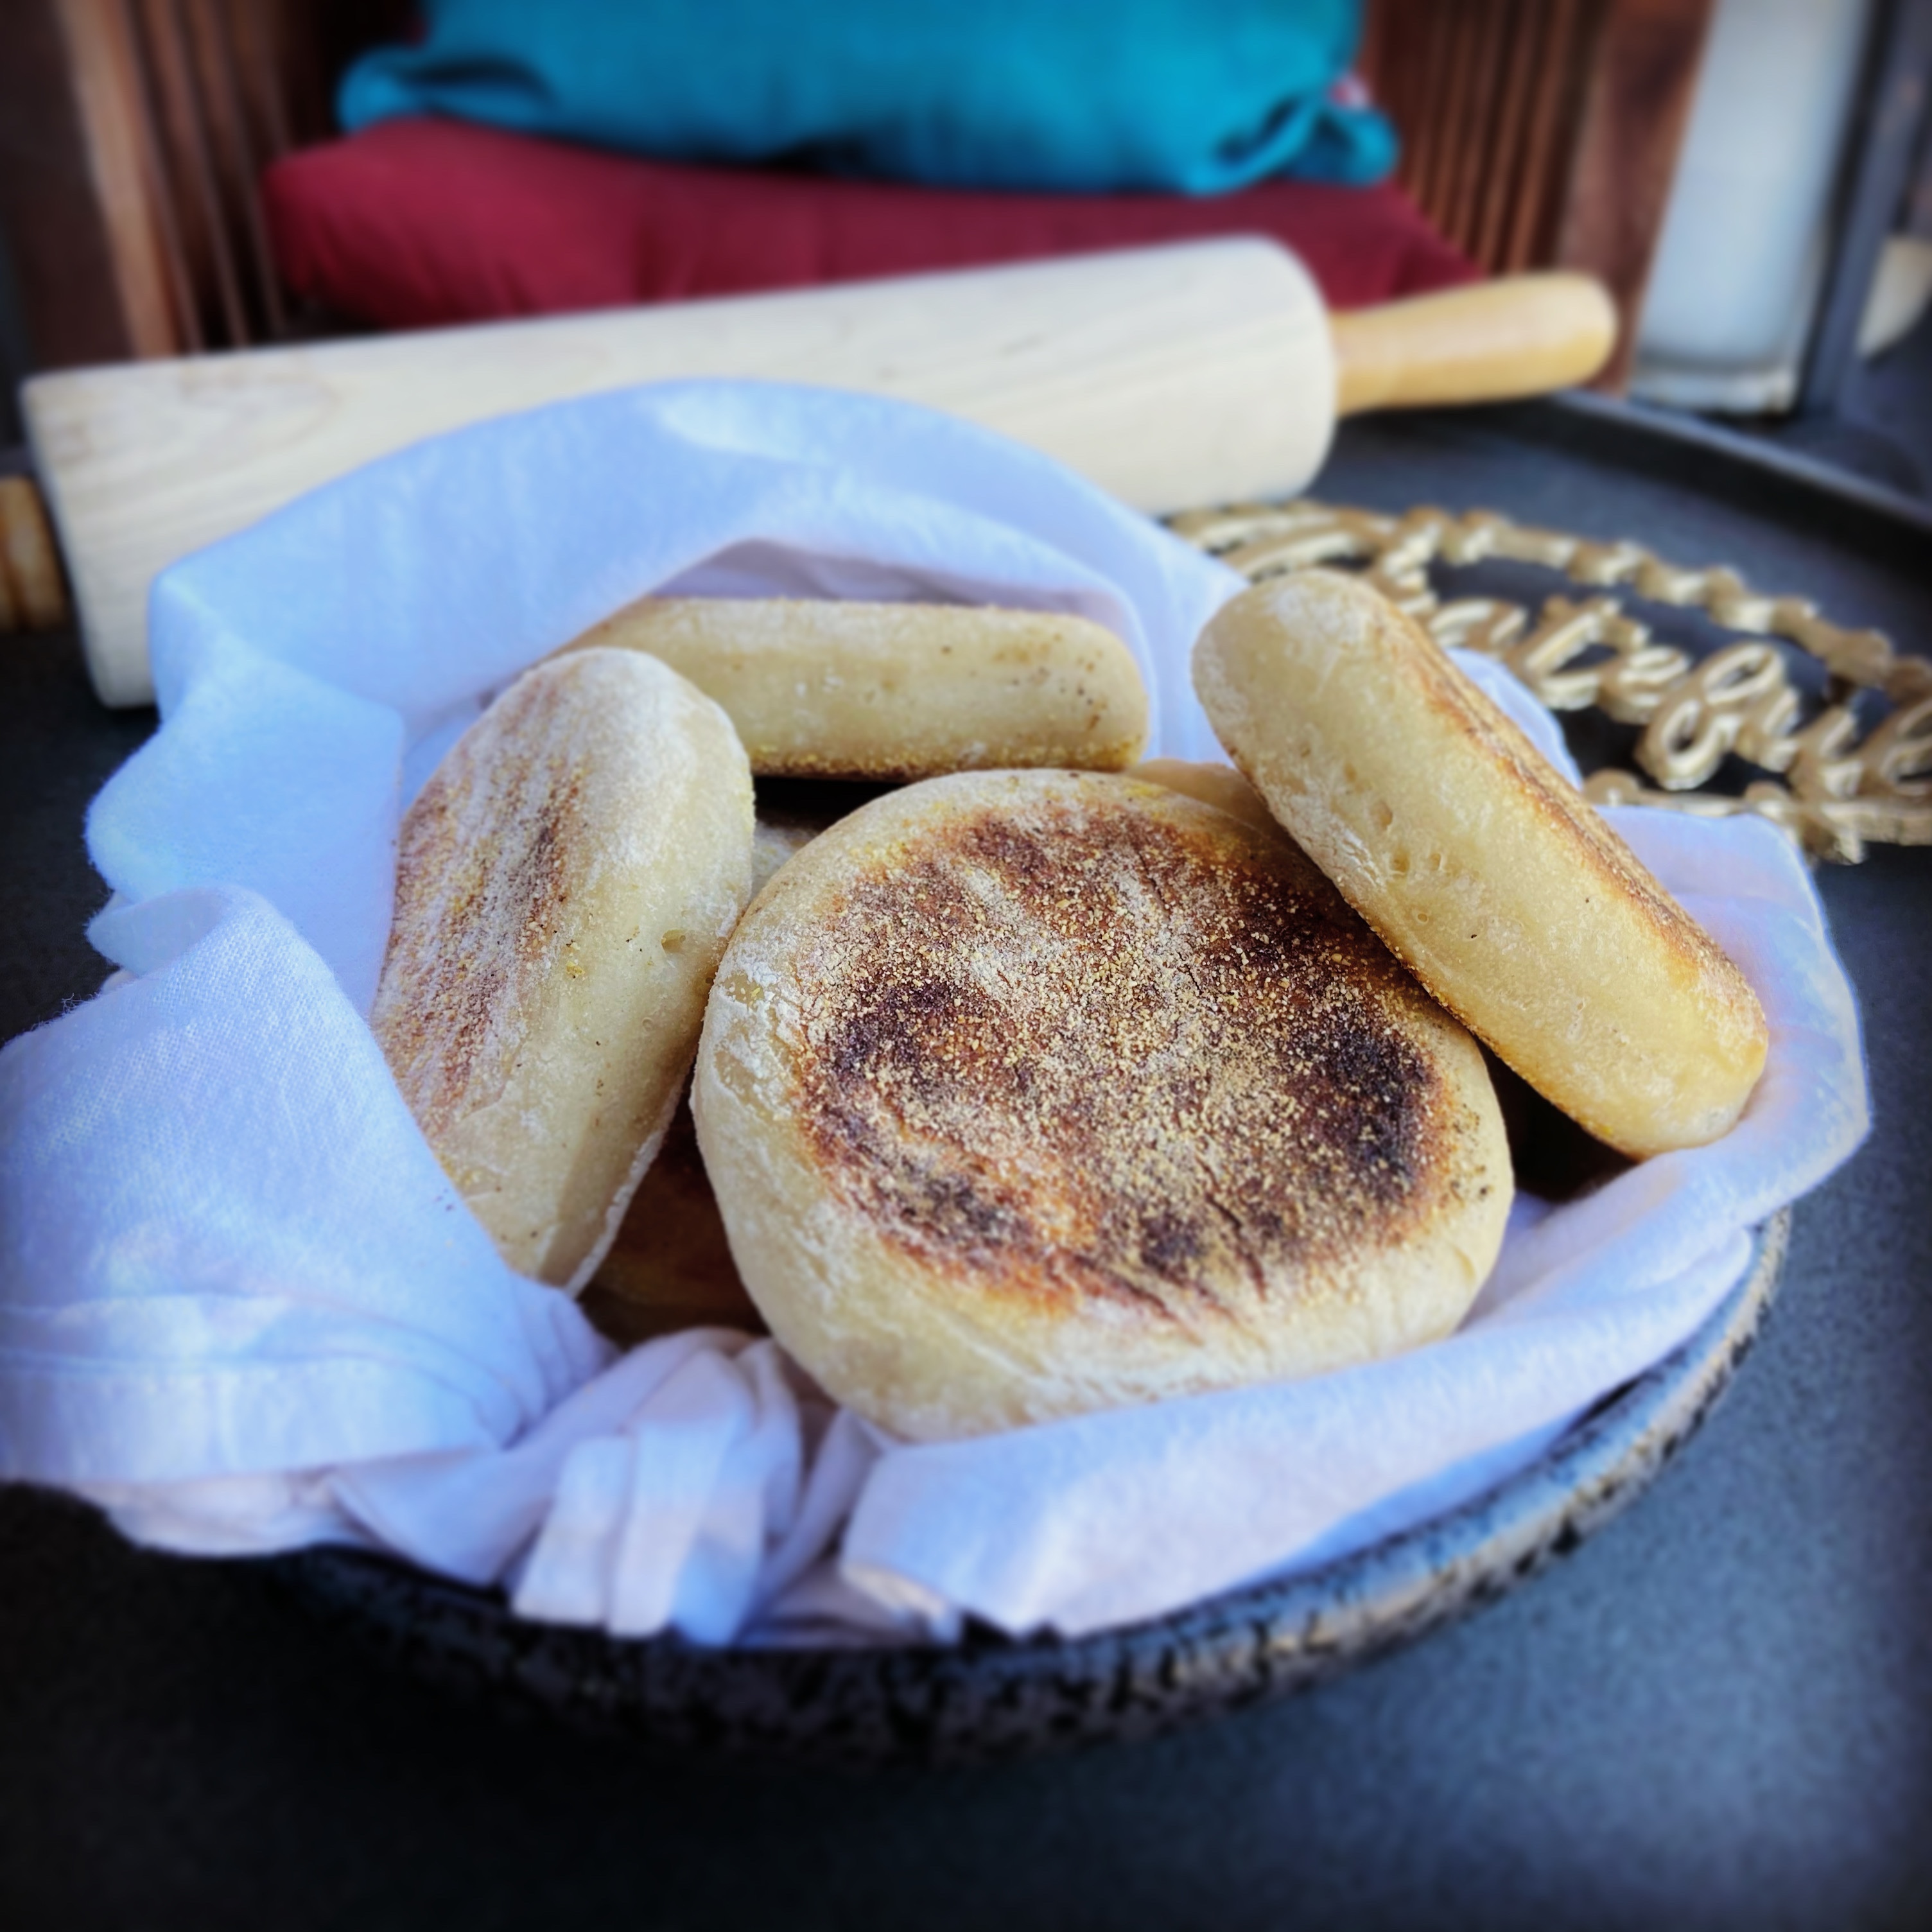
After browsing many different blog posts, I found the perfect sourdough English Muffin recipe to try at Little Spoon Farm. It seemed easy enough – there’s not a lot of hands on time until the end – but, like with most sourdough recipes, it does take several days of waiting for the dough to ferment before you can cook these beauties. Two words for you: worth it.
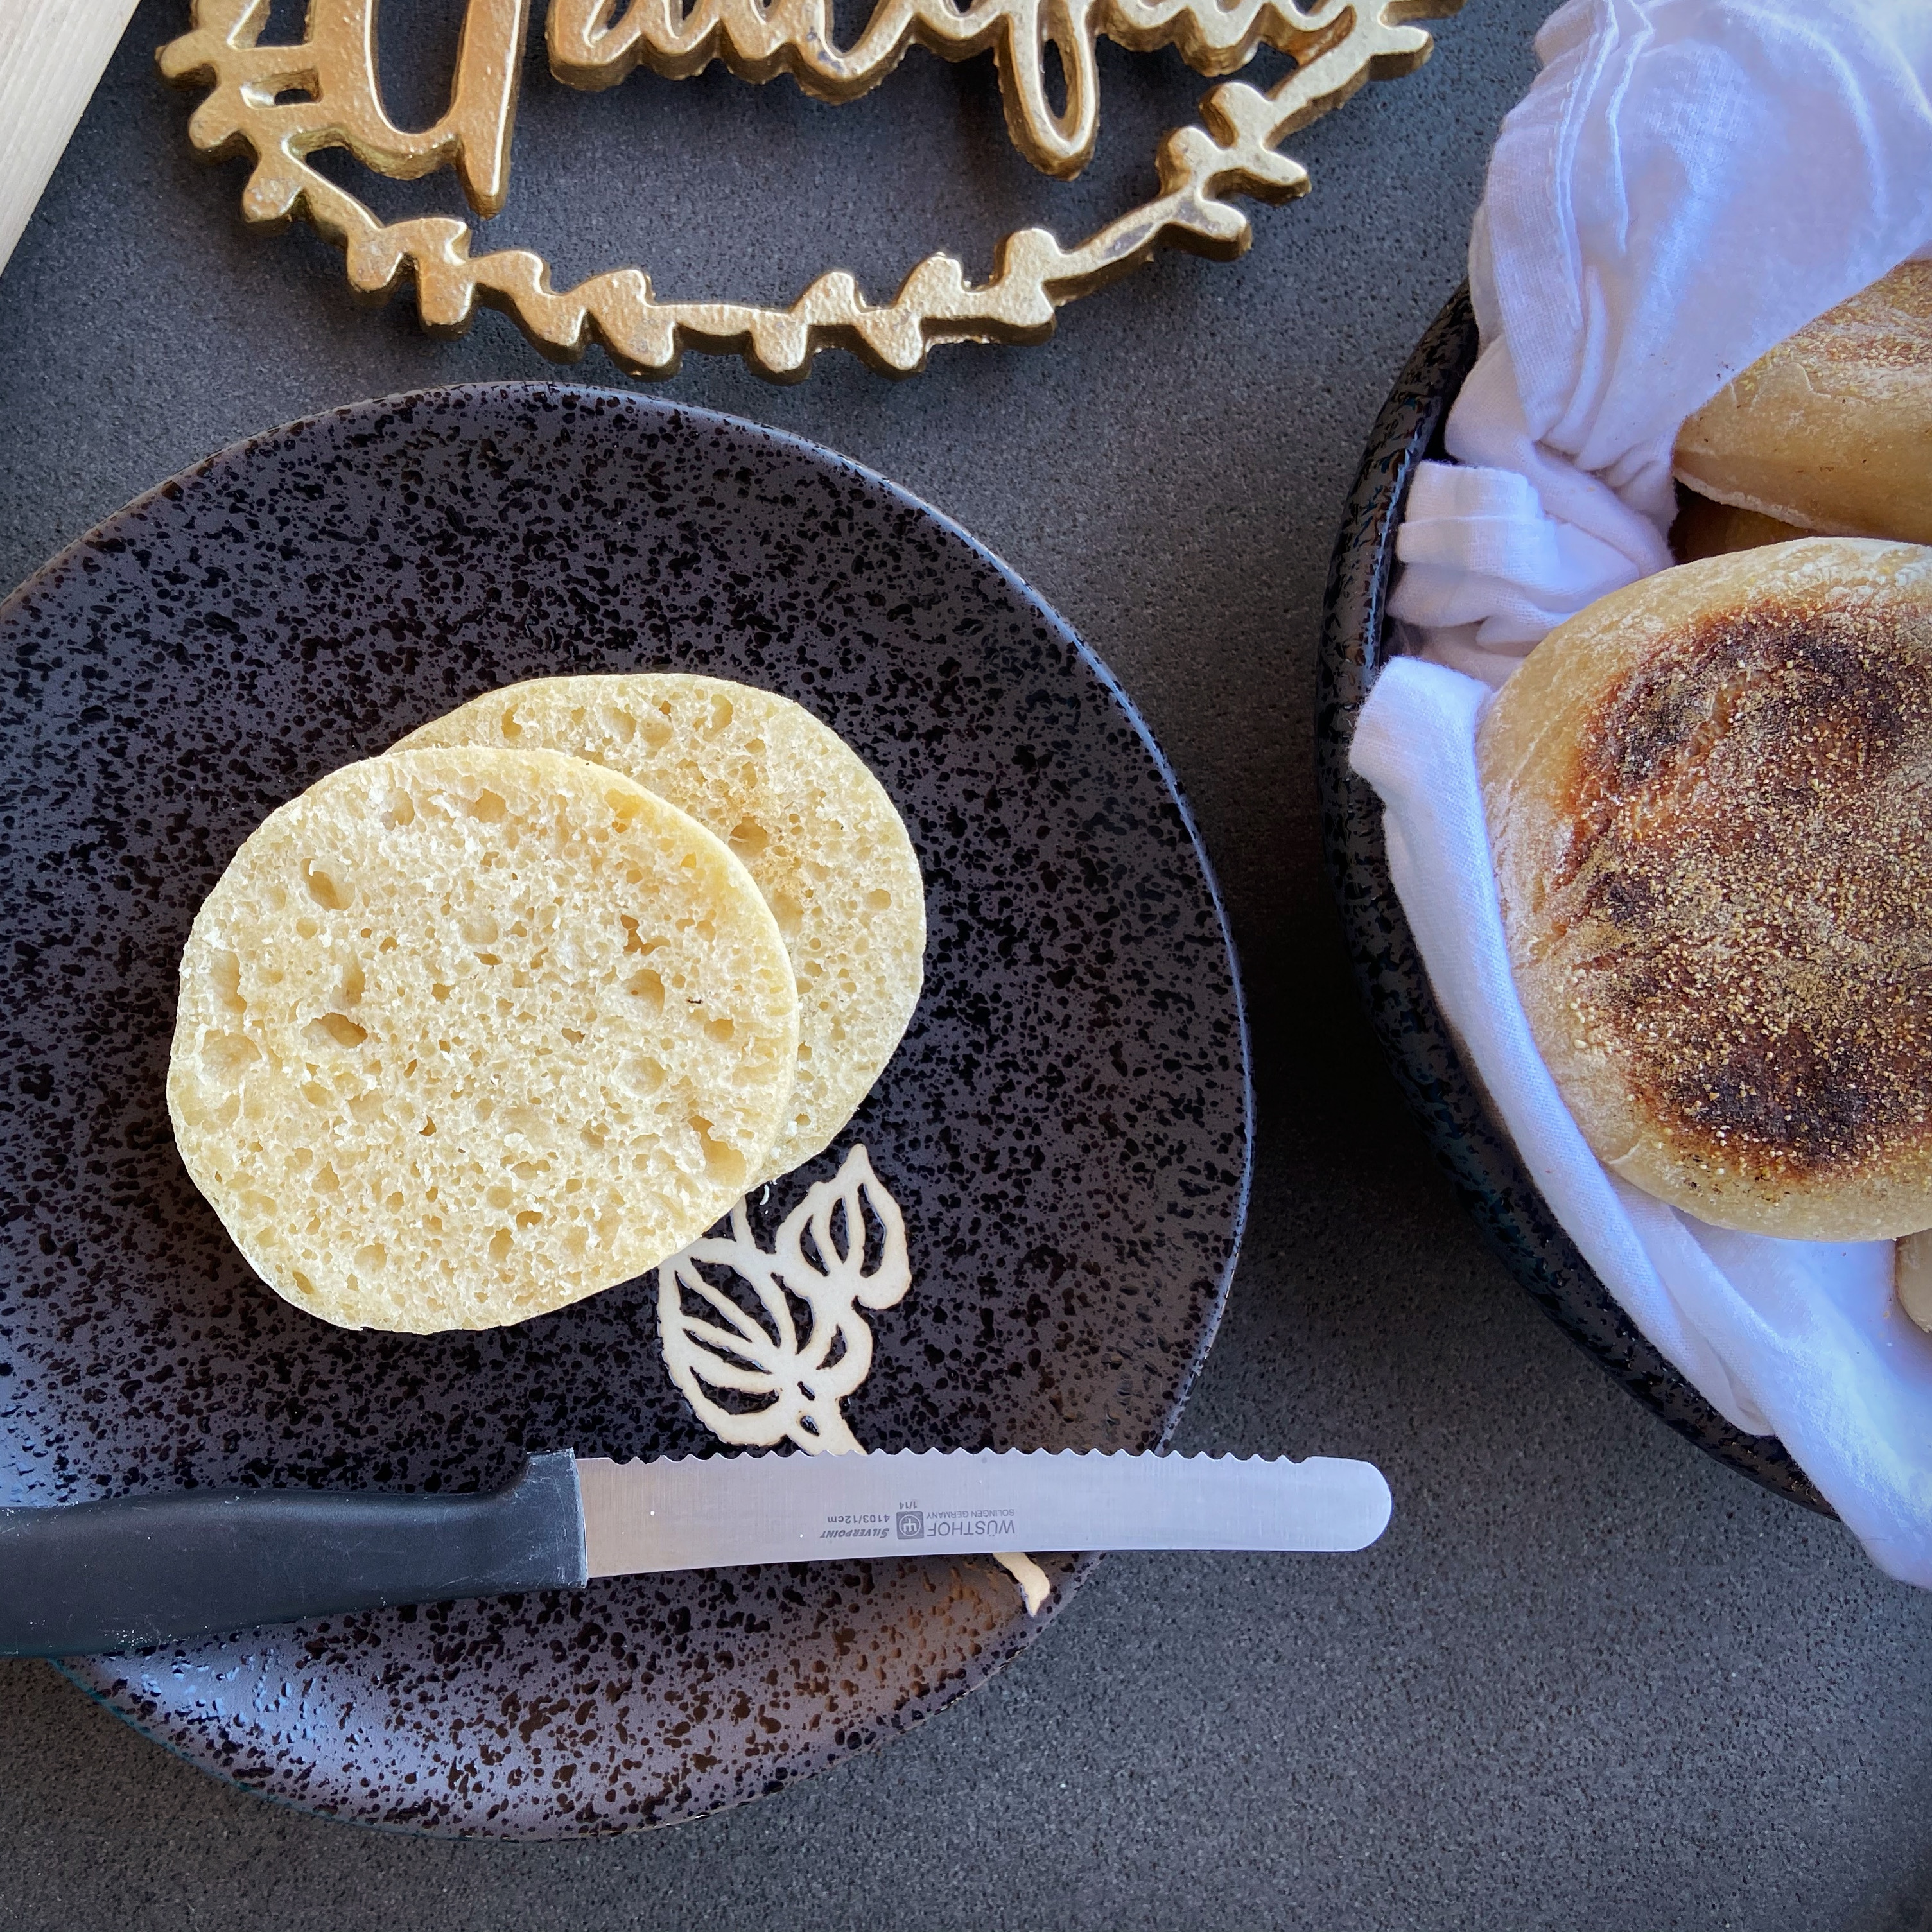
Many times when I make sourdough foods I can’t help but feel slightly disappointed by the underwhelming sourdough flavor. These muffins with their pungent sourdough flavor do not disappoint and they are better than any muffin you will buy in the store. If, like me, you love sourdough anything, you need to try these muffins. I gave some to my neighbor who I got started on the sourdough kick and she immediately wanted the recipe.
The only special equipment you will need for this recipe, aside from a 3-inch biscuit cutter, is a food scale. You must have a food scale if you’re a sourdough bread maker.
ingredients.
- 100 g sourdough active starter (*100% hydration)
- 20 g honey
- 240 g milk
- 360 g all-purpose flour
- 5 g fine sea salt
- cornmeal (for sprinkling)
*100% hydration means you feed your started with equals parts starter, water and flour.
directions.
- The Morning Before: Prepare sourdough starter in advance: In a clean jar add 25g starter + 50g water + 50g flour and let rise until doubled. Depending on the temperature of your kitchen and the maturity of your starter, this can take anywhere from 4 to 12 hours.
- The Night Before: Add 100g of the active starter and the rest of the ingredients (except corn meal) to a large bowl and use your hands to mix until well combined. Cover and let rest 30-60 minutes. Turn the dough out onto a floured surface and knead the dough for 5 minutes or use a stand mixer and knead for 5 minutes on low. Place the dough back into the bowl, cover and let ferment on the counter at room temperature 10 to 14 hours. (Room temperature is 65 to 70°)
- The Morning Of: Turn the dough out onto a floured surface, flour the top of the dough and press it out using your fingertips until it is 1/2″ in thickness.
- Use a 3″ biscuit cutter to cut rounds and place them on a parchment lined baking sheet that’s been sprinkled with cornmeal.
- Sprinkle the tops with cornmeal, cover with a tea towel and allow to rise for 1 hour at room temperature.
- Preheat your non-stick skillet over LOW heat (I cooked mine at about “2” because LOW was too low). Place 3 or 4 muffins into the skillet spaced 2″ apart, cover and cook the first side for 4 minutes. Turn the muffins over, press down on each muffin to touch as much surface space as possible to the pan and cook for an additional 4 minutes. (When done, the center of a muffin should register about 200°F on an instant-read thermometer.)
Recipe rating:


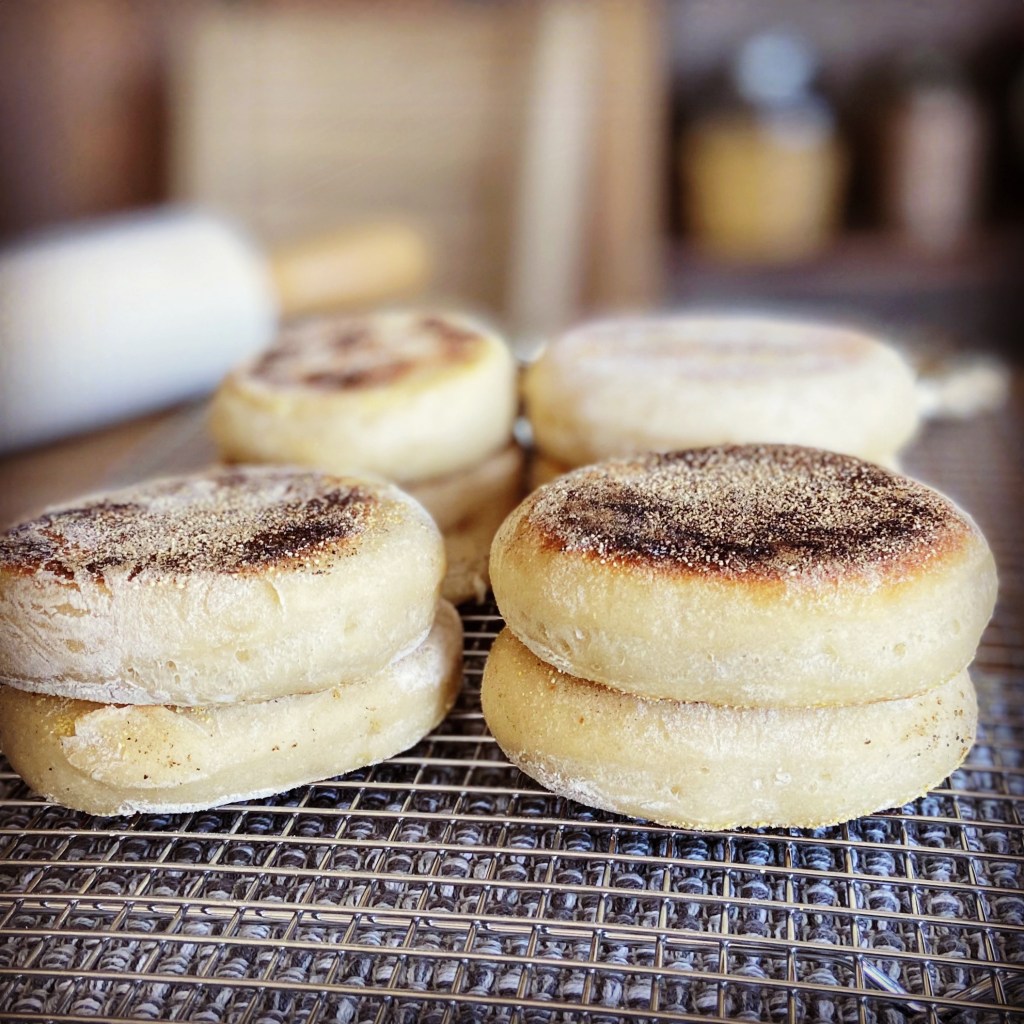
Wow these look like they came from the grocery store!
LikeLike
And taste as good if not better!
LikeLiked by 1 person